In mobile app development, it is often necessary to store data locally on the device for offline usage. One of the popular ways to achieve this is by integrating a SQLite database into the Flutter application. In this blog post, we will explore how to implement offline storage using a SQLite database in a Flutter application.
Setting Up the Project
Before we begin, make sure you have Flutter installed on your system. Once you have Flutter set up, create a new Flutter project using the following command:
flutter create offline_storage_app
After the project is created, navigate to the project directory:
cd offline_storage_app
Creating the Helper Class: `database_helper.dart`
To handle the database operations, we will create a helper class called `DatabaseHelper`. This class will encapsulate all the necessary methods and logic for interacting with the SQLite database. Create a new Dart file named `database_helper.dart` in the `lib` directory and add the following code:
import 'dart:async';
import 'dart:io';
import 'package:path/path.dart';
import 'package:path_provider/path_provider.dart';
import 'package:sqflite/sqflite.dart';

class DatabaseHelper {
  static const _databaseName = "offline_storage.db";
  static const _databaseVersion = 1;

  static const table = 'my_table';

  static const columnId = '_id';
  static const columnName = 'name';
  static const columnAge = 'age';

  Database? _database;

  Future<Database> get database async {
    if (_database != null) return _database!;
    _database = await _initDatabase();
    return _database!;
  }

  Future<Database> _initDatabase() async {
    Directory documentsDirectory = await getApplicationDocumentsDirectory();
    String path = join(documentsDirectory.path, _databaseName);
    return await openDatabase(
      path,
      version: _databaseVersion,
      onCreate: _onCreate,
    );
  }

  Future<void> _onCreate(Database db, int version) async {
    await db.execute('''
          CREATE TABLE $table (
            $columnId INTEGER PRIMARY KEY,
            $columnName TEXT NOT NULL,
            $columnAge INTEGER NOT NULL
          )
          ''');
  }

  Future<int> insertData(Map<String, dynamic> row) async {
    Database db = await database;
    return await db.insert(table, row);
  }

  Future<List<Map<String, dynamic>>> getAllData() async {
    Database db = await database;
    return await db.query(table);
  }

  Future<int> deleteAllData() async {
    Database db = await database;
    return await db.delete(table);
  }
}
Let's go through the code step by step:
- We import necessary Dart libraries such as `dart:async`, `dart:io`, `package:path/path.dart`, `package:path_provider/path_provider.dart`, and `package:sqflite/sqflite.dart`. Make sure you have added the `sqflite` package as a dependency in your `pubspec.yaml` file.
- The `DatabaseHelper` class contains all the methods and logic for interacting with the SQLite database.
- We define the database name and version as private constants. You can modify these values according to your application's requirements.
- The `table`, `columnId`, `columnName`, and `columnAge` constants represent the table name and column names in the database.
- The `_database` variable holds the reference to the SQLite database.
- The `database` getter is an asynchronous method that returns the instance of the SQLite database. If the `_database` variable is already initialized, it returns the existing instance; otherwise, it initializes the database by calling `_initDatabase()`.
- The `_initDatabase()` method creates the SQLite database and returns its instance. It also takes care of database versioning and table creation using the `openDatabase` method.
- The `_onCreate()` method is called during the database creation process. It executes an SQL query to create the table with the specified columns.
- The `insertData()` method inserts a row of data into the database. It takes a `Map<String, dynamic>` as input and returns the inserted row's ID.
- The `getAllData()` method retrieves all the data from the database and returns a list of `Map<String, dynamic>` representing the rows.
- The `deleteAllData()` method deletes all the data from the database and returns the number of rows deleted.
Implementing the Main Page: `main.dart`
Now that we have our `DatabaseHelper` class ready, let's implement the main page of our application. Create a new Dart file named `main.dart` in the `lib` directory and replace the existing code with the following:
import 'package:flutter/material.dart';
import 'database_helper.dart';

void main() {
  runApp(OfflineStorageApp());
}

class OfflineStorageApp extends StatefulWidget {
  @override
  _OfflineStorageAppState createState() => _OfflineStorageAppState();
}

class _OfflineStorageAppState extends State<OfflineStorageApp> {
  final dbHelper = DatabaseHelper();
  int? insertedRowId;
  List<Map<String, dynamic>> fetchedRows = [];

  @override
  Widget build(BuildContext context) {
    return MaterialApp(
      title: 'Offline Storage App',
      theme: ThemeData(
        primarySwatch: Colors.blue,
      ),
      home: Scaffold(
        appBar: AppBar(
          title: Text('Offline Storage'),
        ),
        body: Center(
          child: Column(
            mainAxisAlignment: MainAxisAlignment.center,
            children: [
              ElevatedButton(
                child: Text('Insert Data'),
                onPressed: () {
                  _insertData();
                },
              ),
              if (insertedRowId != null)
                Text('Inserted row ID: $insertedRowId'),
              ElevatedButton(
                child: Text('Fetch Data'),
                onPressed: () {
                  _fetchData();
                },
              ),
              if (fetchedRows.isNotEmpty)
                Column(
                  children: fetchedRows.map((row) {
                    final name = row[DatabaseHelper.columnName];
                    final age = row[DatabaseHelper.columnAge];
                    return Text('Name: $name, Age: $age');
                  }).toList(),
                ),
              ElevatedButton(
                child: Text('Delete Data'),
                onPressed: () {
                  _deleteData();
                },
              ),
            ],
          ),
        ),
      ),
    );
  }

  void _insertData() async {
    Map<String, dynamic> row = {
      DatabaseHelper.columnName: 'PradeeptheDeveloper',
      DatabaseHelper.columnAge: 25,
    };
    final id = await dbHelper.insertData(row);
    setState(() {
      insertedRowId = id;
    });
    debugPrint('Inserted row id: $id');
  }

  void _fetchData() async {
    final rows = await dbHelper.getAllData();
    setState(() {
      fetchedRows = rows;
    });
    for (var row in rows) {
      debugPrint(
          'Name: ${row[DatabaseHelper.columnName]}, Age: ${row[DatabaseHelper.columnAge]}');
    }
  }

  void _deleteData() async {
    final rowsDeleted = await dbHelper.deleteAllData();
    setState(() {
      fetchedRows = [];
      insertedRowId = null;
    });
    debugPrint('Deleted $rowsDeleted rows');
  }
}
Here's an overview of the code:
- We import the necessary packages: `flutter/material.dart` and our `database_helper.dart` file.
- The `main()` function sets up the application by running the `OfflineStorageApp` widget.
- The `OfflineStorageApp` class is a stateful widget representing the main application. It has a corresponding state class `_OfflineStorageAppState`.
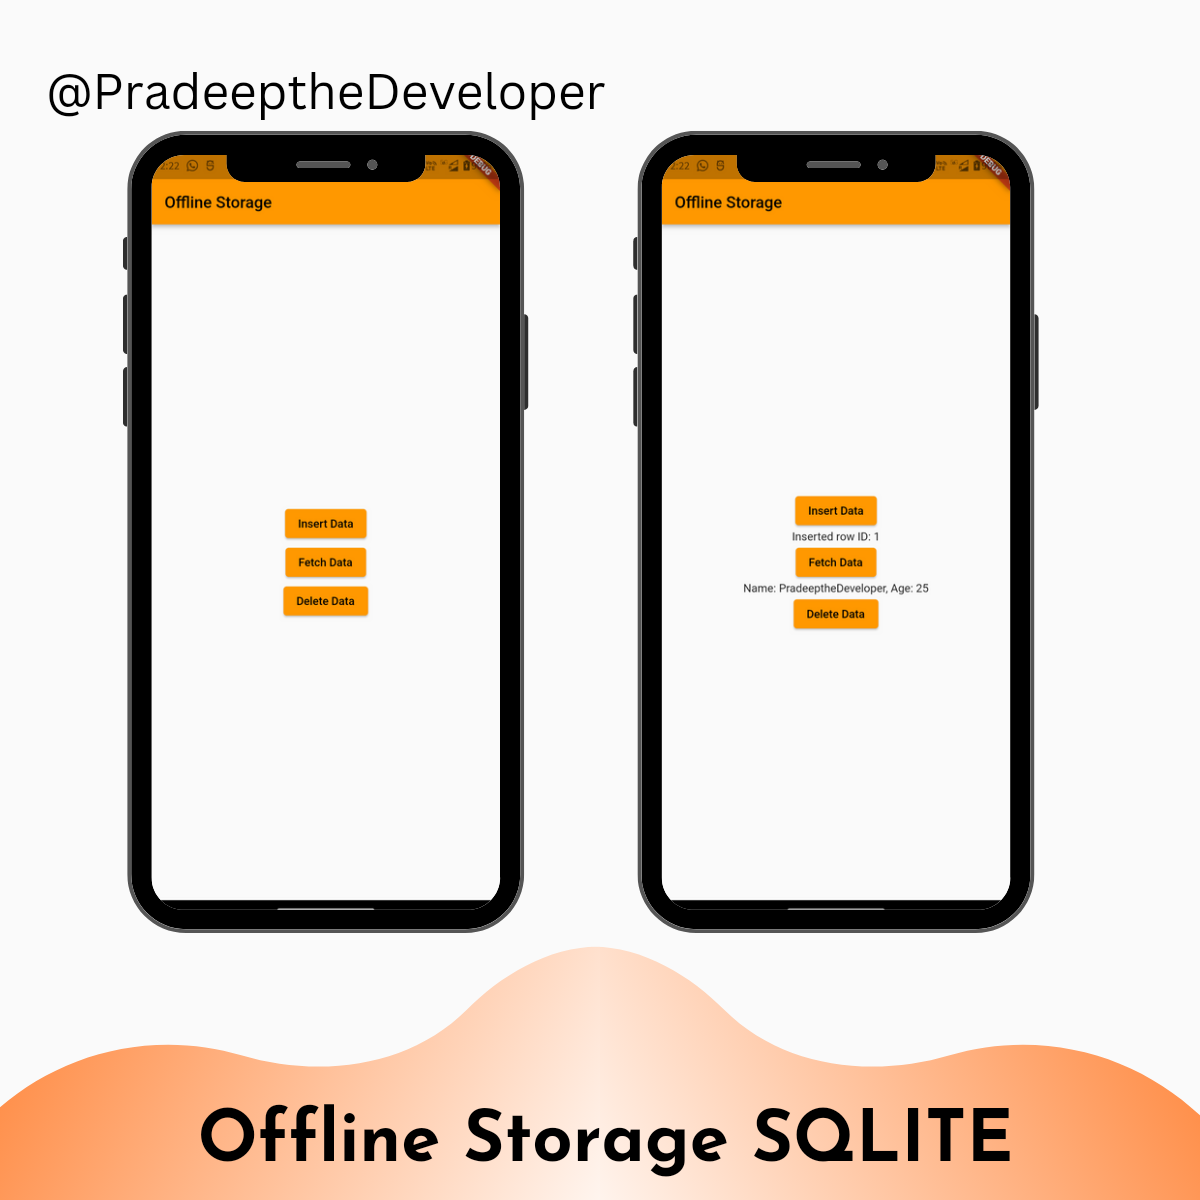
- Inside the `build()` method, we define the user interface of the application using Flutter widgets. It includes an `AppBar` and a `Center` widget with a `Column` of buttons and text widgets.
- The `ElevatedButton` widgets are used for inserting data, fetching data, and deleting data from the database. These buttons call the respective methods `_insertData()`, `_fetchData()`, and `_deleteData()` when pressed.
- The text widgets display the inserted row ID and the fetched data from the database.
- The `_insertData()` method creates a `Map<String, dynamic>` representing a row of data and inserts it into the database using the `insertData()` method from the `DatabaseHelper` class. The inserted row's ID is stored in the `insertedRowId` variable, and the UI is updated using `setState()`.
- The `_fetchData()` method retrieves all the data from the database using the `getAllData()` method from the `DatabaseHelper` class. The fetched rows are stored in the `fetchedRows` variable, and the UI is updated using `setState()`. The method also prints the fetched data to the console for debugging purposes.
- The `_deleteData()` method deletes all the data from the database using the `deleteAllData()` method from the `DatabaseHelper` class. The number of deleted rows is stored in the `rowsDeleted` variable, and the UI is updated using `setState()`. The method also prints the number of deleted rows to the console for debugging purposes.
In this blog post, we learned how to implement offline storage using a SQLite database in a Flutter application. We created a `DatabaseHelper` class to handle database operations and integrated it into the main page of our application. We implemented functionality to insert data, fetch data, and delete data from the database, and displayed the results in the user interface.
Using a SQLite database for offline storage allows your Flutter applications to persist data locally and provide a seamless user experience even when the device is not connected to the internet. It opens up a wide range of possibilities for building robust and feature-rich mobile applications.
Happy coding!
You can follow me on Linkdin to stay connected!
